It is crucial to note that at first, figuring out the precise spot to add water to a self-watering container can be a bit challenging. However, do not fret, as we are here to clarify this important aspect of plant care and shed light on the matter for you.
Understanding the intricacies of the water reservoir and the mechanisms at play is crucial for maintaining healthy and thriving plants.
So, where exactly should we be directing our attention when it comes to watering our self-watering pots? Well, buckle up, because we're about to dive into the nitty-gritty of this topic and uncover the secrets to successful plant hydration.
Key Takeaways
- The water reservoir is typically located beneath the soil in a self-watering pot.
- Proper positioning of the reservoir ensures even moisture distribution in the soil.
- Use the designated spout to pour water into the reservoir and monitor the water level indicator.
- Adjust watering frequency based on seasonal changes and monitor weather conditions to adapt watering practices accordingly.

HYNZ 6-Inch Self-Watering Plant Pot with Visual Reservoir and Drainage Hole, Set of 5, Plastic Flower Pots, Planting Pot for Indoor Outdoor Plants (Frosted Mixed Color)
Indoor plants are beneficial to mental health and our well-being, not to mention a great way to enhance…
As an affiliate, we earn on qualifying purchases.
As an affiliate, we earn on qualifying purchases.
Understanding Self-Watering Pot Basics
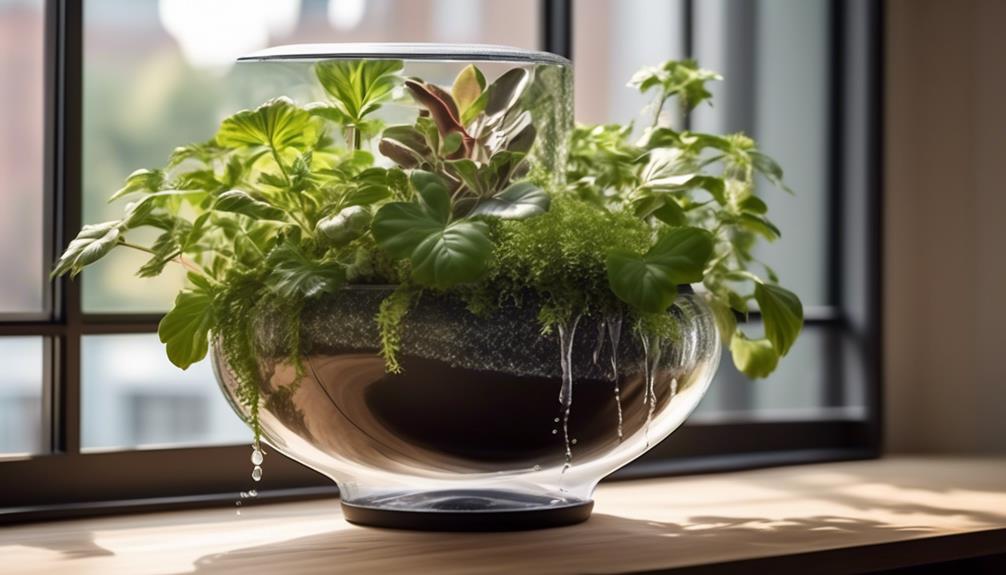
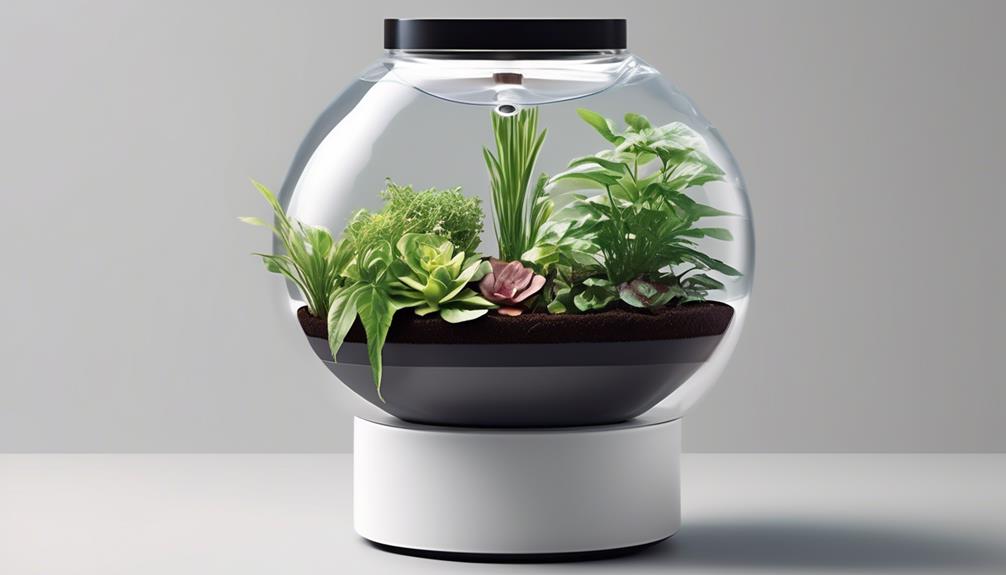
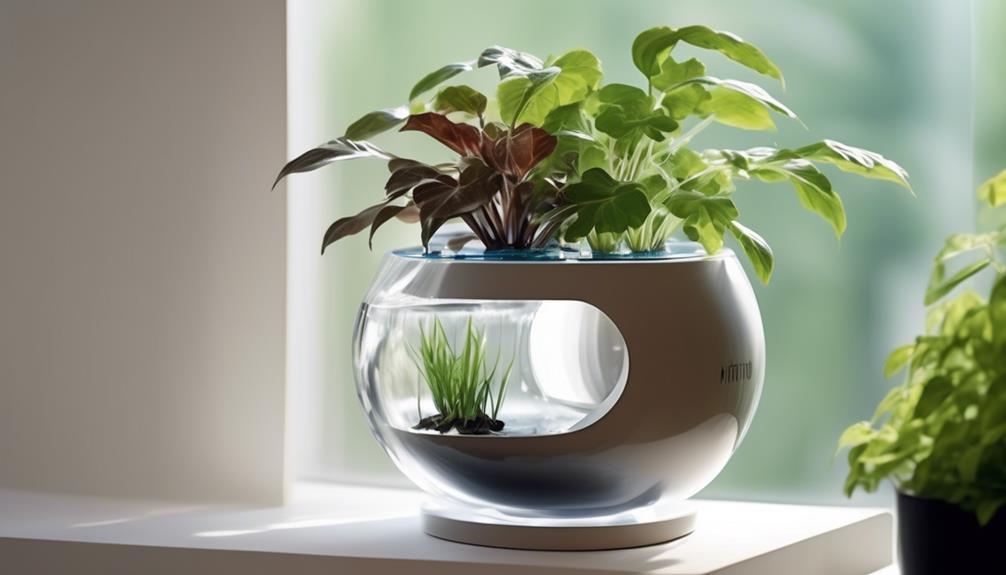
In self-watering pots, the reservoir system automatically supplies water to the plant's roots as needed, providing a consistent and reliable source of hydration. Understanding pot design is crucial for the proper functioning of a self-watering pot.
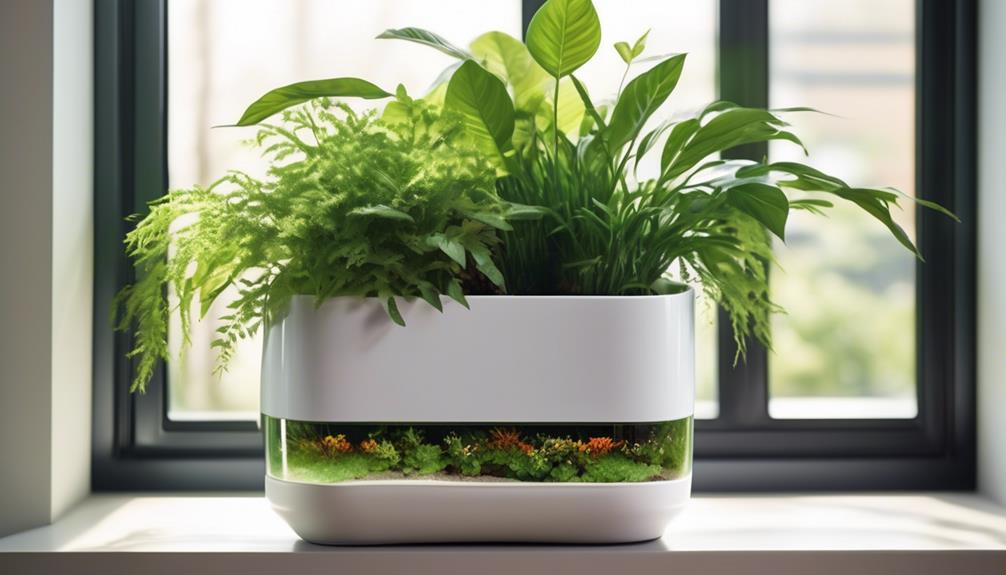
These pots typically consist of two main parts: a container for the plant and soil, and a reservoir for water. The container holds the plant and soil above the water, allowing the roots to access water as needed. Proper water distribution is essential for the health of the plant. The design of the pot must ensure that the water is delivered effectively to the roots.
This is often achieved through the use of a wicking system, which allows the water to move from the reservoir to the soil through capillary action. The soil then absorbs the water, providing it to the plant's roots. Understanding this design and how water is distributed within the pot is key to maintaining the optimal hydration levels for the plant.

LABOTA 24 Pack Self Watering Spikes for Plant, Outdoor Automatic Plants Waterer, Insert Devices with Adjustable Vavle Switch for Garden Water Planter System Indoor & Outdoor
Adjustable Valve: The flow rate can be controlled. The plant watering Device with control valve can control the…
As an affiliate, we earn on qualifying purchases.
As an affiliate, we earn on qualifying purchases.
Identifying Watering Mechanisms

We will now examine the location of the water reservoir and the various components of the watering system in self-watering pots.
Understanding where the water is stored and how it's distributed within the pot is crucial for effectively maintaining the plant's hydration.
Water Reservoir Location
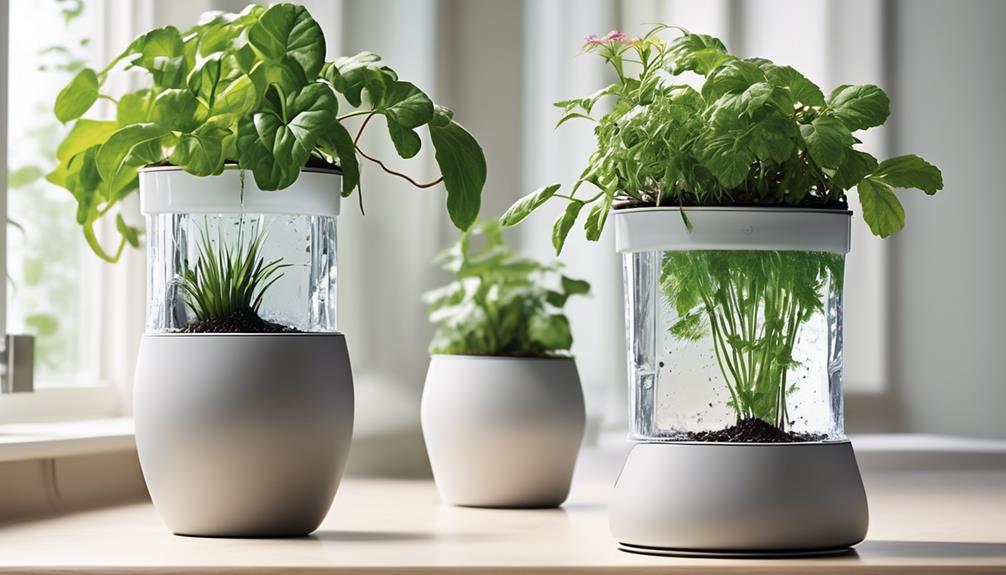
Located at the base of the pot, the water reservoir serves as the primary mechanism for supplying water to the plant. Proper reservoir placement is crucial for optimizing watering efficiency. When considering the location of the water reservoir in a self-watering pot, several key factors should be taken into account:
- Proximity to Plant Roots: The reservoir should be situated close enough to the plant roots to ensure efficient water uptake.
- Even Water Distribution: Placing the reservoir centrally within the pot helps to distribute water evenly to all areas of the soil.
- Easy Access for Refilling: Positioning the reservoir near the edge of the pot facilitates convenient refilling without disturbing the plant.
- Adequate Drainage: Ensuring that the reservoir isn't obstructed by roots or soil clumps allows for proper drainage and prevents waterlogging.
- Compatibility with Pot Design: The reservoir location should align with the pot's design to maximize its effectiveness.
Careful consideration of these factors will result in an optimal water reservoir location, promoting healthy plant growth and efficient water usage.
Watering System Components
Identifying the various watering mechanisms used in self-watering pots is essential for understanding the functionality of the watering system components.
Watering frequency is controlled by the wicking mechanism, which draws water from the reservoir into the soil as needed. This ensures that plants receive a consistent water supply, reducing the risk of over or under-watering.
Evaporation rates are managed through the use of a cover or lid for the water reservoir, minimizing water loss due to evaporation.
Additionally, some self-watering pots employ a water level indicator, allowing users to monitor the reservoir and refill it as necessary.
Understanding these components and their roles in regulating watering frequency and evaporation rates is crucial for effectively maintaining the health of plants in self-watering pots.

DOITOOL 2PCS Water Level Indicator for Plants, Flower Pot Water Shortage Reminder Level Display Gauge Indicator for Indoor/Outdoor Plants, Home Garden Use, 14inch
Plant Water Level Indicator — The water level gauge work by showing when the buoy sinks (needs water)…
As an affiliate, we earn on qualifying purchases.
As an affiliate, we earn on qualifying purchases.
Locating the Water Reservoir
To access the water reservoir in a self-watering pot, first carefully remove the top layer of soil to reveal the opening. The water reservoir is typically located beneath the soil and can be accessed through a designated opening or a removable cap.
Here are some key points to consider when locating the water reservoir:
- Depth: The depth of the water reservoir can vary based on the pot design. It's important to carefully gauge the depth to understand the water capacity and to avoid overfilling.
- Positioning: The positioning of the water reservoir can affect the distribution of moisture within the soil. Understanding its location helps in ensuring even moisture distribution throughout the pot.
- Access Points: Some self-watering pots have multiple access points to the water reservoir. Identifying these access points allows for easier and more efficient refilling of the reservoir.
- Monitoring: Locating the water reservoir enables better monitoring of water levels and helps in maintaining the optimal soil moisture for plant growth.
- Refilling: Knowing the exact location of the water reservoir is essential for timely refilling, especially when considering the watering frequency and soil moisture requirements of the plants.

Suyeah 24PCS Self Watering Spikes for Plant,Indoor & Outdoor Automatic Plants Waterer,Plug-in Device with Adjustable Valve Switch, Self Watering Planter Insert
【High Quality Material】Our adjustable plant water dripper is made of sturdy plastic that is very durable and long…
As an affiliate, we earn on qualifying purchases.
As an affiliate, we earn on qualifying purchases.
Adding Water to the Pot
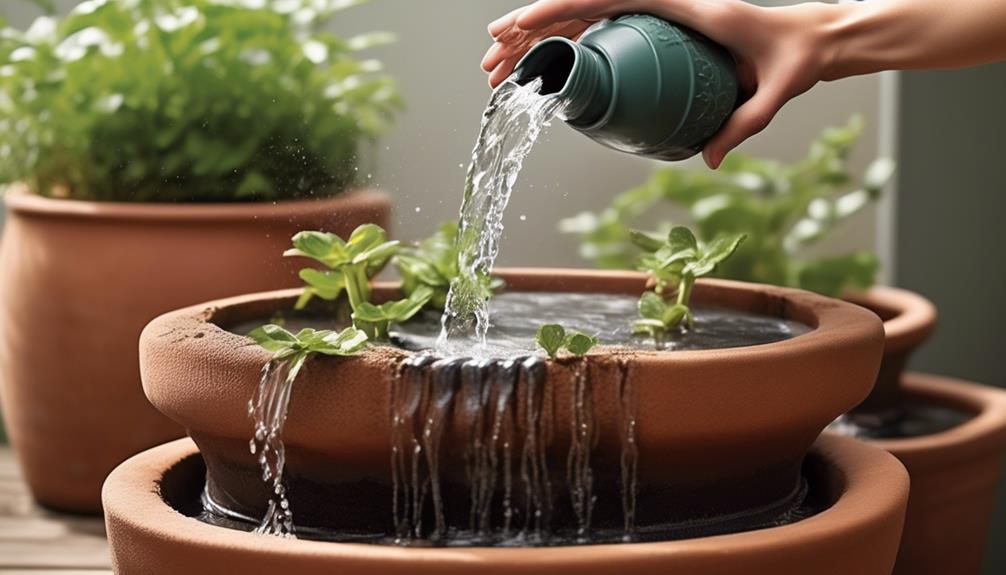
When adding water to the self-watering pot, it's essential to pay attention to the water level indicator, ensuring that it doesn't exceed the maximum level.
To effectively water the plant, use the designated spout to pour water into the reservoir, allowing it to be absorbed by the soil as needed.
Monitoring the water level and refilling it through the spout as required will help maintain optimal moisture levels for the plant.
Water Level Indicator
We can easily check the water level in the self-watering pot by looking at the indicator, ensuring the plant receives the appropriate amount of water. The water level indicator is a crucial component in maintaining the watering frequency and efficiency of the self-watering pot.
Here's how to interpret the indicator:
- The indicator will show 'Full' when the reservoir is filled to the optimal level.
- When the water level drops, the indicator will display 'Low,' indicating the need for a refill.
- 'Add water' signifies that the reservoir is almost empty and needs immediate attention.
- 'Overflow' warns against overfilling, preventing waterlogging.
- 'Check' suggests inspecting the indicator for any potential issues.
Regularly monitoring the water level indicator ensures that the self-watering pot functions optimally, providing the plant with consistent and adequate hydration.
Watering Through Spout
Using the provided spout, carefully pour water into the self-watering pot, ensuring that it reaches the reservoir without overflowing. The spout functionality is crucial for precise water distribution and preventing spillage.
When watering through the spout, it's essential to maintain watering efficiency by pouring the water slowly and steadily. This allows the water to flow smoothly into the reservoir without causing any disturbance to the potting mix or the plant roots.
Additionally, monitoring the water level through the water level indicator while using the spout ensures that the reservoir doesn't get overfilled.
Monitoring Water Levels
To ensure optimal plant hydration, regularly inspect the water reservoir's level indicator or access point to gauge the need for refilling in your self-watering pot. Monitoring the water levels is crucial for maintaining a healthy environment for your plants.
Here are some essential tips for effectively monitoring water levels in a self-watering pot:
- Check the level indicator: Most self-watering pots come with a visible level indicator, which makes it easy to monitor the water levels. Ensure that the indicator is easily visible and accurately reflects the water level in the reservoir.
- Inspect the access point: If your self-watering pot doesn't have a level indicator, it likely has an access point for adding water. Regularly check this access point to visually assess the water level in the reservoir.
- Use a moisture meter: To complement visual inspections, consider using a moisture meter to accurately measure the soil moisture. This can provide additional insight into whether the water reservoir needs refilling.
- Establish a routine: Set a regular schedule for checking the water levels, especially during hot or dry periods. Consistent monitoring ensures that your plants receive adequate hydration.
- Adjust watering frequency: Based on your monitoring observations, adjust the watering frequency to maintain optimal soil moisture and plant health.
Troubleshooting Watering Issues
After ensuring that the water levels in your self-watering pot are adequately monitored, it's essential to address any troubleshooting issues that may arise to maintain a healthy environment for your plants.
One common issue is improper watering frequency. If the soil is consistently too dry, increase the frequency of water refills in the reservoir. Conversely, if the soil is overly wet, reduce the frequency of refills to allow the soil to dry out slightly between watering.
Another common problem is irregular soil moisture. If the soil in your self-watering pot is too dry despite regular refills, check for clogs in the watering tube or openings that may be obstructed. On the other hand, if the soil is consistently too wet, ensure that the soil mix is well-draining and adjust the watering frequency accordingly.
It's also important to check for any signs of root rot, which can indicate excessive moisture.
Frequently Asked Questions
Can I Use Any Type of Water in a Self-Watering Pot, or Are There Specific Recommendations for Water Quality?
We always prioritize water quality in self-watering pots. It's crucial for the plants' health and proper nutrient absorption.
We recommend using distilled or filtered water to prevent mineral build-up and maintain the pot's functionality. Regularly check the maintenance schedule to ensure the water quality meets the plant's needs.
It's essential to strike a balance between watering frequency and water quality to promote healthy growth and minimize potential issues.
How Often Should I Clean Out the Water Reservoir to Prevent Mold or Bacteria Buildup?
We clean out the water reservoir of our self-watering pots every 2-4 weeks to prevent mold or bacteria buildup. This frequency ensures optimal plant health and prevents any potential issues.
It's crucial to use clean, filtered water to maintain the system and keep the plants thriving.
Can I Use Fertilizer or Plant Food in the Water Reservoir to Provide Nutrients to My Plants?
Yes, you can use plant food or fertilizer in the water reservoir to provide nutrients to your plants. However, it's essential to follow the manufacturer's guidelines for the specific product you're using.
Using nutrients in the reservoir can help ensure that your plants receive a constant supply of essential elements. Additionally, consider the temperature requirements and water quality recommendations for the specific fertilizer or plant food to maintain an optimal growing environment.
Is There a Recommended Temperature Range for the Water Added to the Self-Watering Pot?
When considering water temperature for self-watering pots, it's crucial to ensure effectiveness and compatibility with plant needs. The water source and temperature play a vital role in maintaining optimal conditions.
Ideally, using lukewarm water within the range of 65-75°F helps prevent shocking the roots while promoting hydration. Cold water can slow down the wicking process, affecting the pot's self-watering ability.
Therefore, maintaining the right water temperature is essential for the pot's functionality and plant health.
What Should I Do if I Notice the Water Level in the Reservoir Dropping Quickly, or if It Seems Like the Plants Are Not Getting Enough Water From the Self-Watering System?
If the water level in the reservoir is dropping quickly or the plants are showing signs of not getting enough water, we need to check the reservoir for any clogs or obstructions.
Adjust the water level as needed to ensure proper hydration for the plants. This may involve adding more water if the reservoir is drying out too fast or draining excess water if it's not being absorbed by the plants.
Can I Use Regular Potting Soil in a Self-Watering Plant Pot?
Yes, you can use regular potting soil in self watering plant pots. However, it is recommended to mix in some water-retaining crystals or perlite to improve water retention. This will help the soil to absorb and retain moisture more effectively, ensuring your plants stay hydrated in the self watering plant pots.
Conclusion
In conclusion, the self-watering pot is a convenient and efficient way to ensure your plants stay hydrated without constant attention.
By understanding the basics, identifying the watering mechanisms, and locating the water reservoir, you can easily add water to the pot and monitor the levels to keep your plants healthy and thriving.
With this innovative system, you can say goodbye to the hassle of traditional watering methods and enjoy lush, vibrant plants with minimal effort.