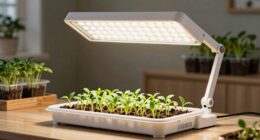
We’ve all been there – wanting our plants to thrive, but struggling with the never-ending task of watering them. What if I told you that there’s a simple solution to this common problem? It’s true.
In this discussion, we'll explore the step-by-step process of creating self-watering plant pots. These innovative containers not only save time and effort, but also ensure that your plants receive the consistent moisture they need to flourish.
So, how exactly do you go about making your own self-watering plant pots? Stick around to uncover the secrets to this game-changing gardening technique.
Key Takeaways
- Consider the size and material of the containers for optimal plant growth and maintenance.
- Choose a water reservoir and create a wick to assemble the self-watering system.
- Select a high-quality, well-draining potting mix based on the moisture requirements of the plants.
- When transplanting, inspect and trim the plants, position the root system properly, and establish a watering schedule.

Self-Watering Pots for Indoor Plants 4 Pack, 6/8/10/12 Inch Outdoor Planters with Water Level Indicator&Deep Reservoir, Decorative Flower Pots for Indoor Plants,Home Decor (White, 12+10+8+6 inch)
-🌱 Complete 4-Piece Self-Watering Set with Smart Wick System: This comprehensive 6, 8, 10, and 12-inch self-watering planters…
As an affiliate, we earn on qualifying purchases.
As an affiliate, we earn on qualifying purchases.
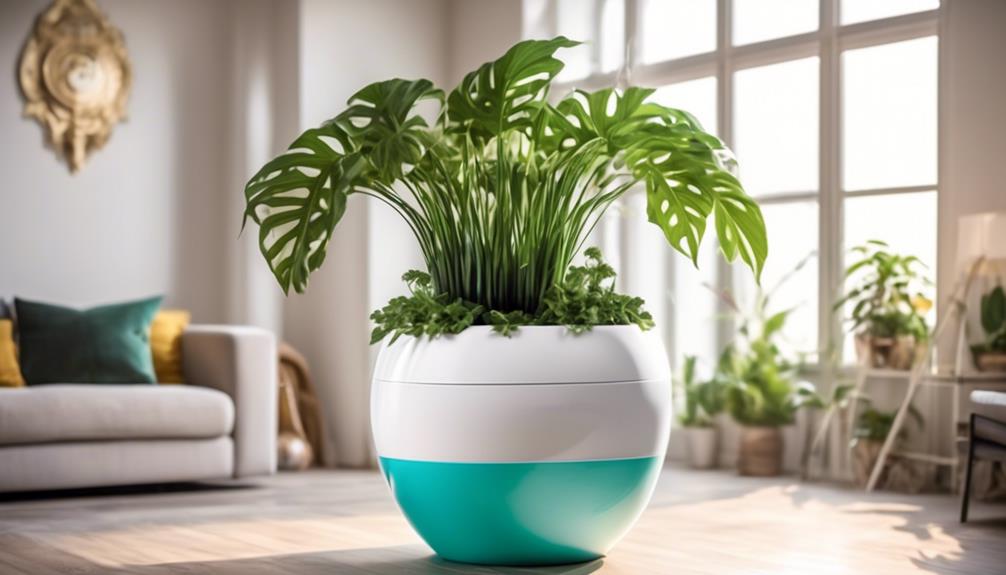
Choosing the Right Containers
When selecting containers for self-watering plant pots, consider the size and material to ensure optimal growth and maintenance of your plants. Container materials play a crucial role in the health of your plants. Porous materials like terracotta allow for good air circulation and prevent waterlogging, while plastic containers are lightweight and retain moisture well.
Size considerations are equally important as they directly impact the root development and overall health of the plants. A container that's too small can constrict root growth and lead to stunted plants, while a container that's too large may result in overwatering. It's essential to choose a container that provides enough space for the plant to grow, with room for the roots to spread and access water from the reservoir.
In our experience, we've found that containers made of high-quality plastic or terracotta are durable and work well for self-watering pots. Additionally, selecting a container that's approximately 1-2 inches larger in diameter than the plant's current nursery pot allows for proper root development.

16PCS Plant Self Watering Insert Spikes Device, Automatic Water Control System with Slow Release Valve, Adjustable Water Volume Drip Irrigation Control System for Plants, Enjoy Your Vacation
【Adjustable valve】 The flow rate can be controlled. The plant watering Device with control valve can control the…
As an affiliate, we earn on qualifying purchases.
As an affiliate, we earn on qualifying purchases.
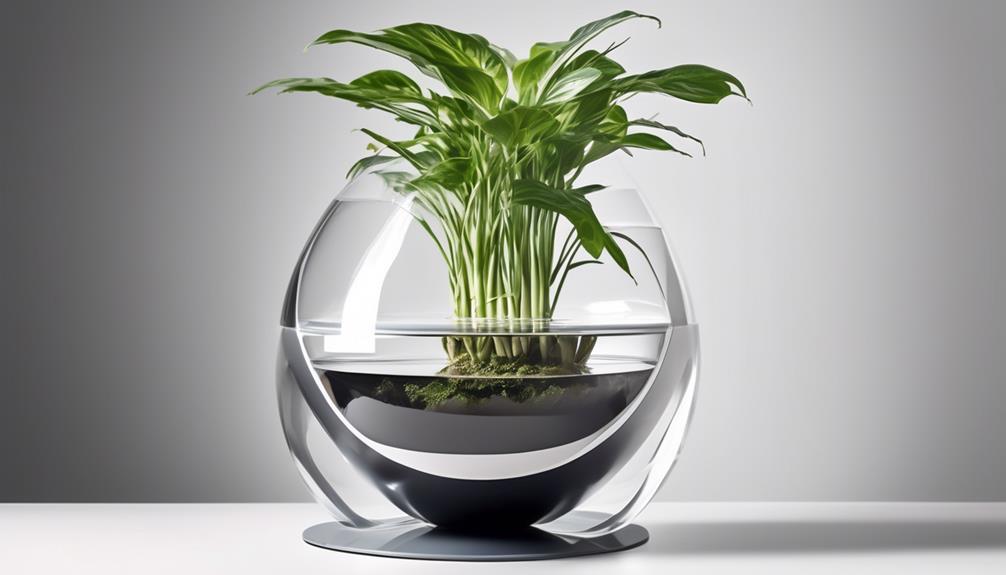
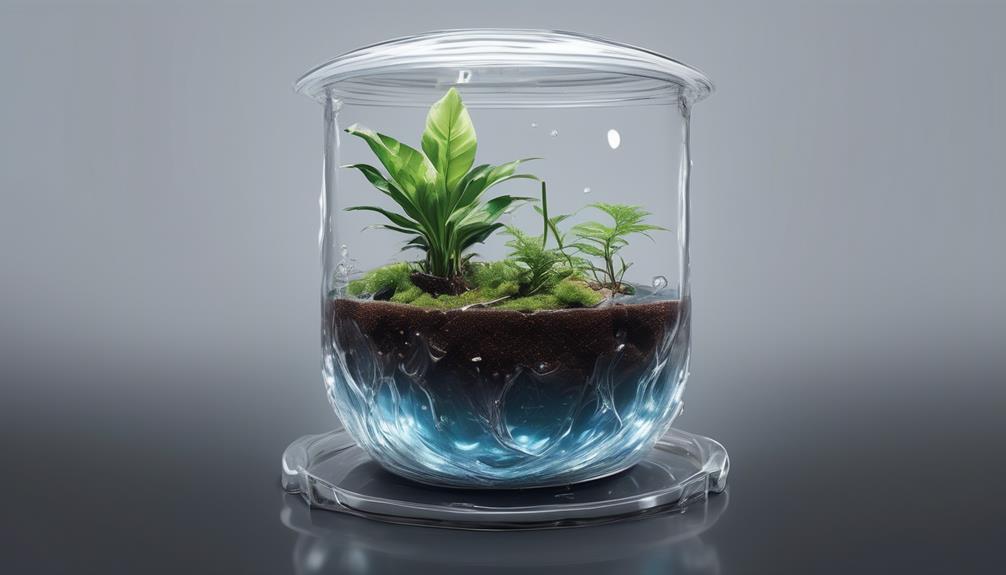
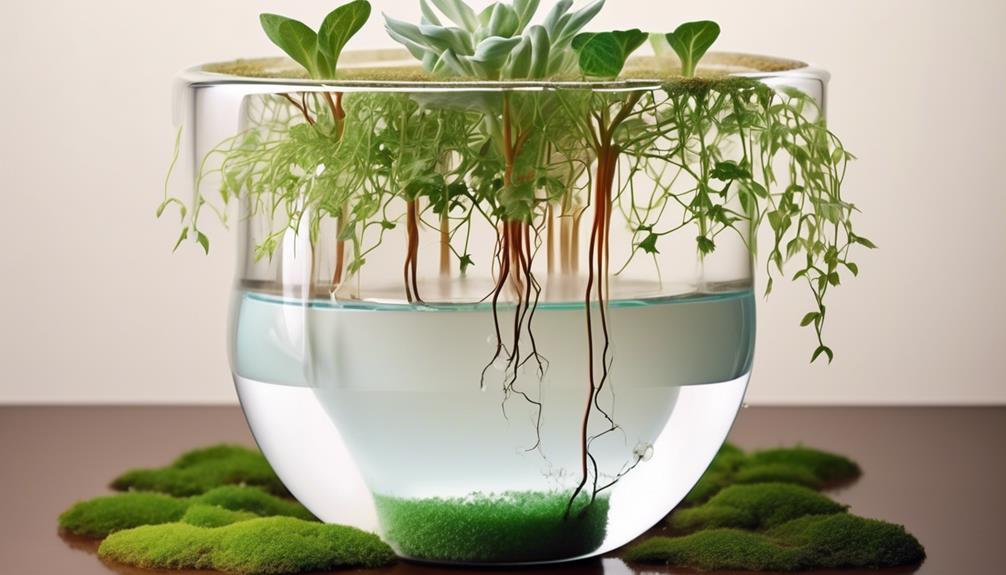
Assembling the Self-Watering System
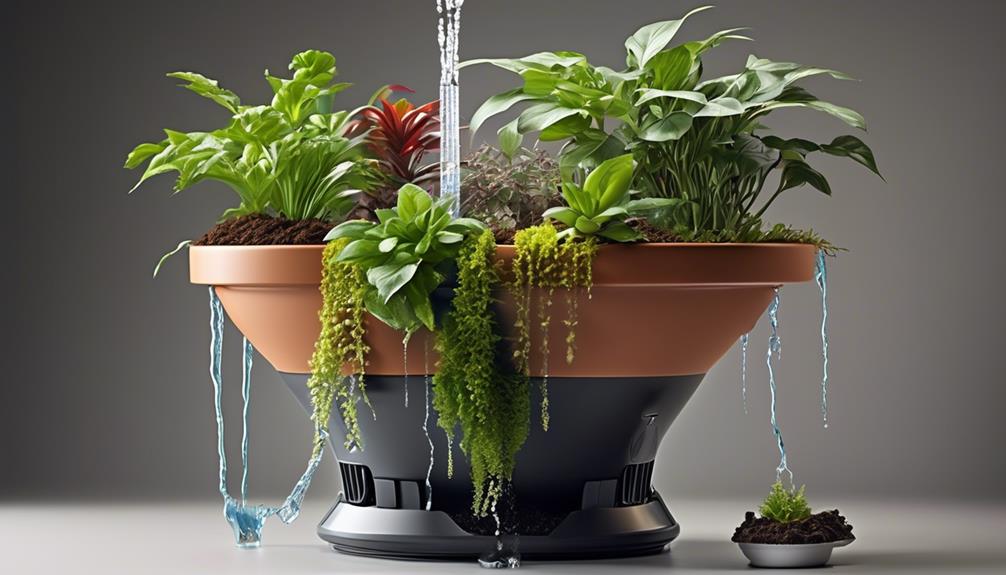
Having carefully selected the right containers for our self-watering plant pots, it's time to move on to assembling the self-watering system. When assembling the self-watering system for our plant pots, there are a few key steps to follow:
- Choose a Water Reservoir: Select a container that will serve as the water reservoir for the self-watering system. This can be a plastic bottle with the bottom cut off, a dedicated water reservoir designed for self-watering pots, or any watertight container that fits the size of your pot.
- Create a Wick: Next, we need to create a wick to draw water from the reservoir to the soil. This can be done using materials such as cotton rope, felt fabric, or nylon string. The wick should be long enough to reach from the bottom of the reservoir to the top of the soil.
- Adjust Watering Frequency: Depending on the plant's needs, adjust the watering frequency by experimenting with the wick size and the water level in the reservoir. This will help maintain the ideal moisture level in the soil without overwatering.

GroBucket Self Watering Planter Insert w/LifeTested Technology, Water Reservoir & Level Indicator – Turn Any 5-Gal Bucket into a DIY, Portable Automatic Container Indoor-Outdoor Garden, 3-Pack
Turn Any 5-Gallon Bucket into a Self-Watering Planter: GroBucket is a planter insert designed for standard 5-gallon buckets,…
As an affiliate, we earn on qualifying purchases.
As an affiliate, we earn on qualifying purchases.
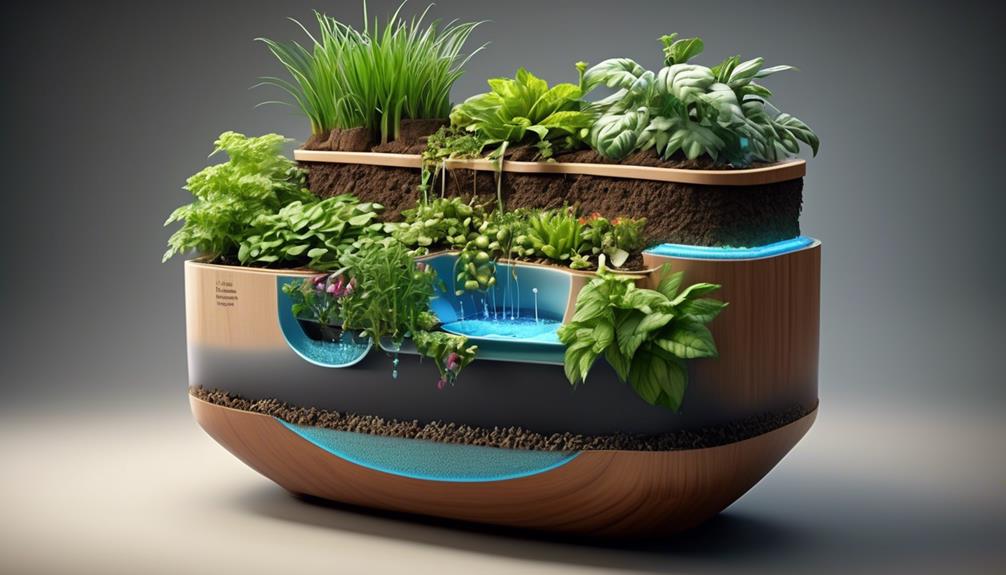
Preparing the Potting Mix
To prepare the potting mix for your self-watering plant pots, begin by selecting a high-quality, well-draining potting soil suitable for the specific needs of your plants. It's important to consider the watering frequency and soil moisture requirements of the plants you intend to grow.
For example, succulents and cacti require a well-draining soil mix to prevent waterlogged conditions, while moisture-loving plants like ferns and peace lilies need a mix that retains more water. Once you have the appropriate potting soil, you can mix in some perlite or coarse sand to improve drainage for plants that prefer drier conditions.
On the other hand, adding peat moss or coconut coir can enhance water retention for plants that thrive in moist environments. It's crucial to strike the right balance based on the specific needs of your plants.
Remember to thoroughly mix the components to ensure uniformity and test the soil's moisture level before planting to ensure it aligns with your plant's requirements. By customizing the potting mix to your plants' needs, you can help them thrive in your self-watering plant pots.

GreenShip 4-Pack Patented Self-Watering Spikes – DIY Plant Watering System for Indoor Plants, Fits Grower Pots, Reuse Containers, Automatic Self-Watering Stakes (Small)
Easy DIY Self-Watering: Transform your indoor plants into self-sufficient greenery by inserting these patented spikes into the bottom…
As an affiliate, we earn on qualifying purchases.
As an affiliate, we earn on qualifying purchases.
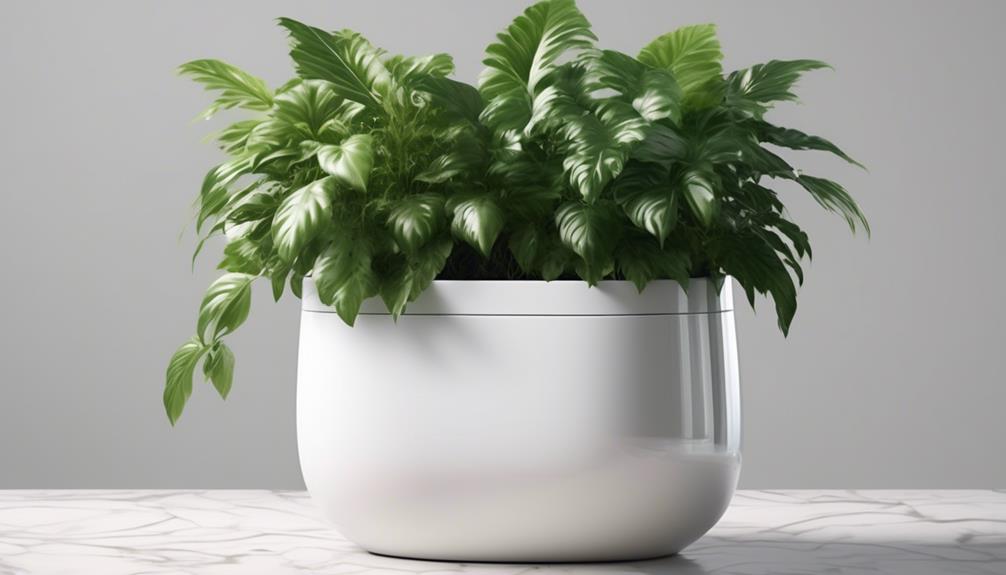
Transplanting Your Plants
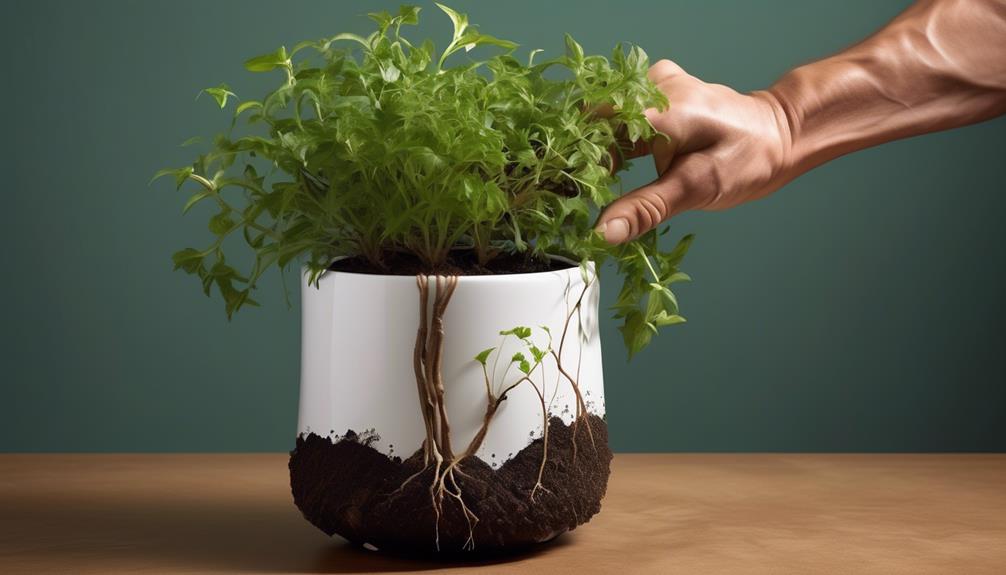
After preparing the potting mix, we carefully remove the plants from their current pots and gently transplant them into the self-watering plant pots, ensuring that the root system is positioned comfortably within the new soil.
- Pruning Techniques: Before transplanting, it's crucial to inspect the plants for any dead or overgrown foliage. Using sterilized pruning shears, we trim away any damaged roots and excessive growth to promote healthy new growth. This also helps the plant acclimate to its new environment more efficiently.
- Proper Watering Schedule: Once the plants are transplanted, we establish a proper watering schedule to aid their adjustment. We water the plants thoroughly after transplanting, allowing excess water to drain from the bottom of the pot. After the initial watering, we monitor the moisture levels closely, ensuring the soil doesn't dry out completely. It's essential to strike a balance, avoiding overwatering which can lead to root rot, and underwatering which can stress the plants.
Transplanting can be a critical stage for the well-being of your plants, so utilizing proper pruning techniques and maintaining a consistent watering schedule will greatly contribute to their successful transition.
Maintaining Your Self-Watering Plant Pots
When maintaining your self-watering plant pots, it is important to regularly check the water reservoir to ensure it has an adequate supply for the plants' needs. Insufficient water can stress your plants, so it's essential to monitor the reservoir and refill it when necessary. Additionally, it's crucial to clean the reservoir every 2-4 weeks to prevent algae growth and ensure the water stays fresh for your plants.
| Common Problems | Solutions |
|---|---|
| Soil too dry | Adjust watering frequency or increase water level in the reservoir. |
| Soil too wet | Reduce watering frequency or allow the reservoir to dry out between refills. |
| Algae growth | Clean the reservoir with a mixture of water and vinegar. |
In terms of watering frequency, it's essential to adjust based on the plant's needs and the environmental conditions. During hot and dry weather, plants may require more frequent watering, while cooler and more humid conditions may necessitate less frequent refills. Monitoring the moisture level of the soil can help determine the appropriate watering schedule.
Frequently Asked Questions
Can Self-Watering Plant Pots Be Used for All Types of Plants, Including Succulents and Cacti?
Yes, self-watering plant pots can be used for various types of plants, including succulents and cacti. It's important to consider plant compatibility and adjust watering frequency accordingly.
For succulents and cacti, use well-draining soil to prevent waterlogging. Regular maintenance is key to ensure the system is functioning optimally for these plants.
With the right soil type and proper care, self-watering pots can be a convenient option for a variety of plants.
How Often Should the Water Reservoir in the Self-Watering Plant Pot Be Refilled?
We usually refill the water reservoir in our self-watering plant pots every 1-2 weeks, depending on the plant's water needs and the pot size.
The benefit of this watering technology is that it maintains consistent moisture levels, promoting healthy plant growth.
To keep the system functioning properly, we regularly check the water level and clean the reservoir to prevent any blockages.
This maintenance technique ensures our plants thrive with minimal effort.
Are There Any Specific Types of Potting Mix That Work Best With Self-Watering Plant Pots?
We've tried all sorts of potting mixes, and let me tell you, the best one for self-watering plant pots is a lightweight, well-draining mix. Look for blends designed for hydroponic systems, as they work wonders.
Avoid heavy mixes that retain too much water. This is crucial for the success of the self-watering technique.
Our experience has taught us that the right potting mix is the key to maintaining healthy and thriving plants in self-watering pots.
Can Self-Watering Plant Pots Be Used Outdoors, and if So, How Should They Be Maintained in Different Weather Conditions?
Absolutely, self-watering plant pots are great for outdoor use. We've found that they work best with plants that thrive in outdoor conditions, such as herbs, vegetables, and certain flowers.
When it comes to maintenance, it's essential to adjust watering frequency based on seasonal changes. In hotter weather, plants may need more water, while in cooler conditions, you'll want to reduce the watering frequency to prevent over-saturation.
What Are the Potential Drawbacks or Limitations of Using Self-Watering Plant Pots Compared to Traditional Pots?
Potential drawbacks of self-watering plant pots include the need for regular maintenance to prevent clogs or mold, and the initial investment cost. However, the benefits, like consistent moisture and reduced watering frequency, often outweigh these drawbacks.
Maintenance requirements involve checking water levels, cleaning the reservoir, and occasionally replacing the wick.
Are there different methods for making self watering plant pots, or is there just one standard way?
There are various self watering plant pots tutorials available online, each offering different methods to create these innovative containers. From using wicking systems to incorporating reservoirs, there is no one standard way to make self watering plant pots. With a bit of research, anyone can find a tutorial that suits their needs.
Conclusion
In the end, creating self-watering plant pots is like giving our plants a little oasis to thrive in. It's a simple yet effective way to ensure our green friends stay hydrated and healthy, even when we're busy or forgetful.
With the right containers, a well-assembled watering system, and some TLC, our plants will flourish and grow, symbolizing the beauty of life and the rewards of caring for something with our own hands.