
To create advanced DIY self-watering systems, use porous reservoirs like plastic bottles or jars combined with absorbent wicks such as cotton or felt strips. Position the reservoir below your plants for gravity-assisted flow and connect it to the soil with a wick that extends into the root zone. Incorporate gravity-fed tubing or drip emitters for consistent watering. Keep the system clean and monitor water levels regularly to guarantee your plants stay healthy—there’s more to discover if you continue.
Key Takeaways
- Use high-quality, durable, and absorbent wick materials like cotton or nylon for efficient water transfer.
- Position reservoirs below plants with gravity-assisted flow, and drill small holes for controlled water release.
- Incorporate multiple wicks or larger reservoirs to ensure consistent moisture during hot or dry periods.
- Regularly monitor water levels and adjust wick length to prevent overwatering and soil sogginess.
- Maintain system cleanliness and inspect components to prevent mold, algae, and ensure long-term functionality.
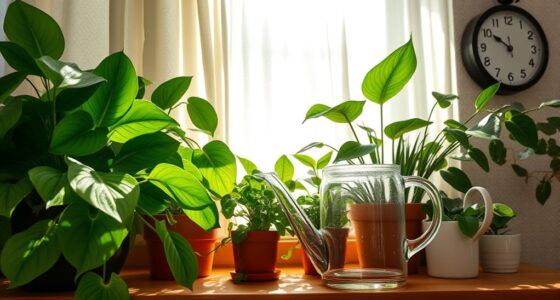
If you want to keep your plants healthy and water them efficiently, building a DIY self-watering system is a smart solution. These systems help maintain consistent plant moisture, reducing the risk of overwatering or underwatering. To do this effectively, you’ll need to understand how to create a reliable connection between your plant’s roots and the water source, often using simple reservoir materials that fit your space and budget.
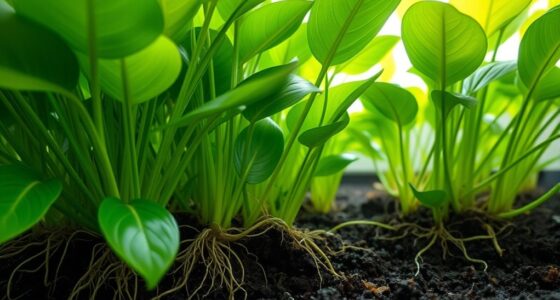
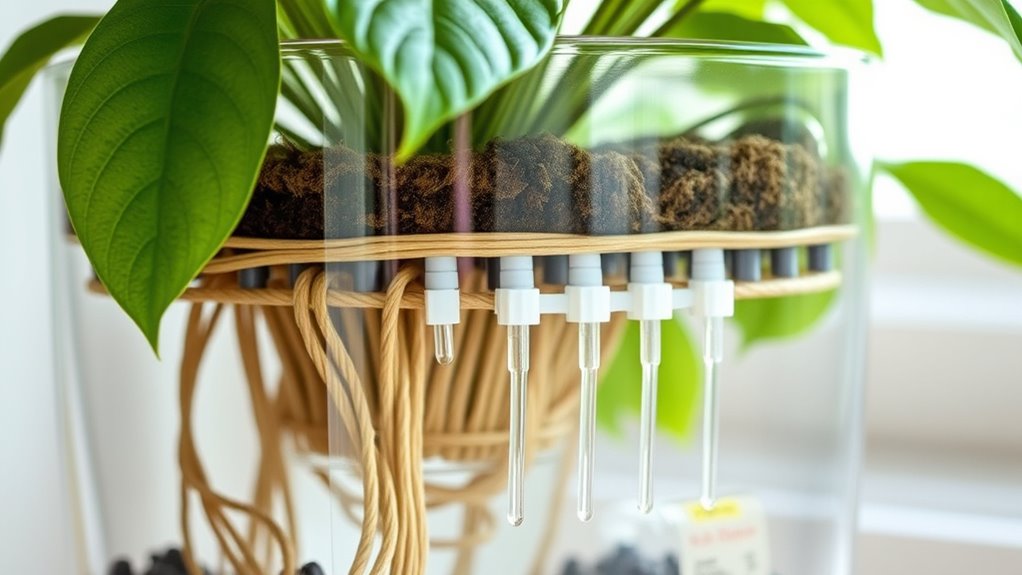
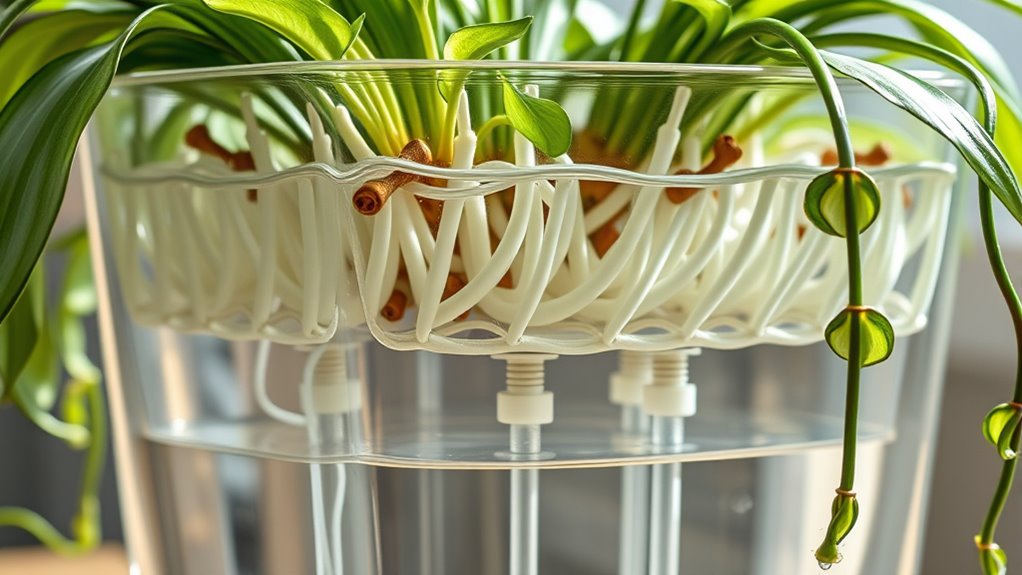
The first step is selecting suitable reservoir materials. You want materials that are non-toxic, porous, and durable enough to hold water over time. Common choices include clean plastic bottles, large jars, or even repurposed containers like old food jars or buckets. For wicking purposes, materials such as cotton cords, nylon ropes, or even strips of felt work well because they draw water from the reservoir up into the soil through capillary action. The key is ensuring these materials are absorbent enough to keep the soil consistently moist without flooding the roots.
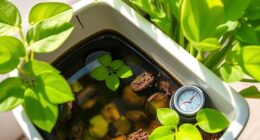
Once you’ve chosen your reservoir materials, prepare your container by drilling a small hole near the bottom if you’re using a larger jar or bottle. Insert the wick material through this hole, making sure part of it extends into the water and the other end reaches the soil in your plant’s container. This setup allows water to travel from the reservoir into the soil naturally, maintaining the desired plant moisture level. When filling the reservoir, be cautious not to overfill, as excess water can lead to root rot. Instead, aim for a level that keeps the wick submerged without flooding the soil.
Prepare your container with a drilled hole and insert the wick to ensure natural water flow to your plants.
To optimize your DIY self-watering system, consider the placement of the reservoir. It should be positioned lower than the plant to facilitate gravity-driven water flow. Regularly check the reservoir’s water level, especially during hot or dry periods when plants tend to dehydrate faster. If you notice the water running out quickly, you might need to increase the size of your reservoir or add a secondary wick to improve water delivery. Conversely, if the soil stays soggy, reduce the wick length or improve drainage to prevent overwatering. Additionally, understanding the importance of color accuracy in visual presentation can help you better assess the health and vibrancy of your plants through the leaves and flowers.
Frequently Asked Questions
How Do I Prevent Overwatering With Self-Watering Systems?
To prevent overwatering, you should carefully manage your watering frequency and regularly monitor the reservoir. Check the water level often to ensure it’s not too full, which signals overwatering. Adjust the watering schedule based on your plant’s needs, climate, and season. By staying attentive to reservoir levels and avoiding excessive watering, you’ll keep your plants healthy without risking root rot or waterlogging.
What Plants Are Best Suited for DIY Self-Watering Setups?
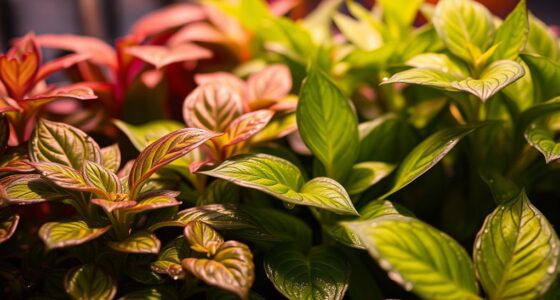
Think of your indoor garden as a carefully curated gallery. Plants like pothos, snake plants, and succulents are ideal for DIY self-watering setups because they’re highly compatible with these systems. They thrive with less frequent watering and tolerate fluctuations. By choosing plants with similar watering needs and compatibility, you’ll guarantee your system works efficiently, reducing overwatering and keeping your indoor jungle healthy and vibrant.
Can I Adapt These Systems for Outdoor Use?
You can adapt these systems for outdoor use, but you’ll need to contemplate outdoor weather conditions and material durability. Protect your system from rain, extreme temperatures, and UV rays that can degrade materials over time. Use weather-resistant components like durable plastics or metals, and secure your setup against wind and animals. Regularly check for wear and tear, ensuring your watering system stays functional and efficient outdoors.
How Often Should I Refill the Water Reservoir?
You should monitor your reservoir regularly to determine the ideal watering frequency. Typically, refilling depends on your plant’s needs and the system’s size, but check the water level every few days. If the reservoir runs low quickly, refill it more often. Consistent reservoir monitoring helps prevent over- or under-watering, ensuring your indoor plants stay healthy and well-hydrated without constant manual watering.
Are There Eco-Friendly Materials for Building These Systems?
Looking for eco-friendly materials? You can build these systems with biodegradable plastics that break down naturally, recycled materials that give new life to waste, or sustainable options like bamboo and cork. These choices help reduce environmental impact, promote sustainability, and guarantee your indoor garden stays green. By choosing eco-conscious options, you’re not only caring for your plants but also supporting a healthier planet.
Conclusion
With a DIY self-watering system, you’re the gardener guiding a steady stream of life to your plants, like a gentle river nourishing a lush garden. These setups turn your indoor space into a thriving oasis, reducing watering worries and keeping your plants happy and healthy. Just remember, with patience and a little effort, you’ll watch your green friends flourish like a well-tended forest—vibrant, resilient, and full of life.