You should repot your indoor plants at the start of the growing season, usually in spring, every 12 to 18 months. Look for signs like roots breaking through drainage holes, slowed growth, or yellowing leaves to know when it’s time. Use a pot that’s 1-2 inches larger for small-to-medium plants, and ensure it has drainage holes. After repotting, monitor your plant’s health closely. There’s more to learn about the process to ensure your plants thrive.
Key Takeaways
- Repot indoor plants at the start of the growing season, typically in spring, for optimal growth.
- Look for signs like roots outgrowing the pot or slowed growth, indicating it’s time to repot.
- Repot every 12 to 18 months; fast-growing plants may require more frequent repotting.
- Avoid repotting during the dormant period from October to January to reduce stress on the plant.
- Allow new plants to acclimate for a week or two before repotting to ensure a smooth transition.
General Timing for Repotting

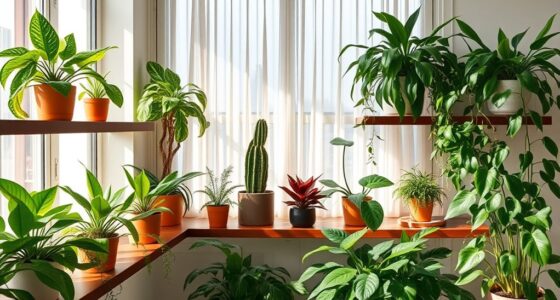
When you’re considering repotting your indoor plants, timing plays a crucial role in ensuring their health and growth.
Ideally, you should repot at the start of the growing season, usually in spring. Most plants benefit from repotting every 12 to 18 months, but fast-growing varieties might need it more often. The best time to repot is in the spring when plants are actively growing, as this allows them to adapt and thrive after the repotting process. Additionally, larger plants generally require more water due to their increased leaf surface area. Just as in home cinema projectors, where proper timing and conditions can enhance performance, ensuring optimal timing for repotting can significantly improve your plant’s growth. A well-timed home improvement project can similarly boost the overall aesthetics of your living space.
Repotting is best done in spring, with most plants needing it every 12 to 18 months, especially fast growers.
Avoid repotting during the dormant period from October to January, as this can stress your plants. If you’ve just brought home a new plant, let it acclimate for a week or two before making any changes.
Pay attention to your plant’s growth rate, soil quality, and any environmental changes to determine if it’s time to repot.
Signs That Repotting Is Needed

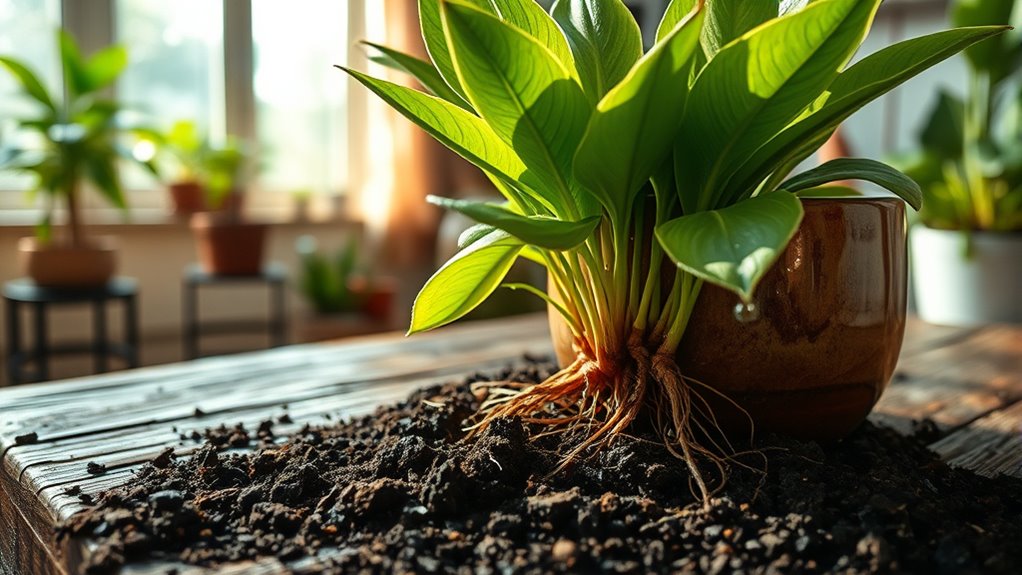
Recognizing the signs that your indoor plants need repotting can help you maintain their health and vitality.
Look for roots breaking through the pot’s drainage holes or even visibly outgrowing the container. If your plant’s growth slows down, especially during the growing season, that’s a clear indicator it’s time for a new pot. Additionally, prune juice preparation can help replenish nutrients if you’ve noticed signs of nutrient depletion. It’s important to consider long-term financial planning for maintaining your plants, as some may require ongoing investment in soil and nutrients. Freshly squeezed juice retains more nutrients than processed juice, which can also be beneficial for plant care.
You might notice yellowing leaves or small leaf production, hinting at nutrient depletion. Additionally, if the soil shrinks away from the pot edges or becomes compacted, it’s struggling to provide necessary drainage and nutrients. Soil not draining properly can also be a sign that your plant is in need of a new pot.
Take note if your plant becomes top-heavy or requires more frequent watering; these signs suggest that it’s craving more space for healthy root expansion. If you’re unsure about the right timing for repotting, observing the growth patterns of your plants can provide valuable insights.
Choosing the Right Pot Size

Choosing the right pot size is crucial for your indoor plants’ health and growth. A general rule is to increase the pot diameter by 1-2 inches for small-to-medium plants, while larger plants may require a 2-4 inch increase. Always select a pot at least six inches larger than the existing root ball. Consider your plant’s growth rate; fast growers need more frequent repotting. Additionally, ensure adequate drainage holes to prevent overwatering and root rot. The pot’s material also matters—ceramic pots are porous, while plastic retains moisture. Proper pot size is essential for optimal plant health, as it directly affects root development and nutrient absorption. By maintaining the right pot size, you can create an ideal environment similar to a backyard greenhouse for your indoor plants. A well-chosen pot can also support a healthier lifestyle by promoting a cleaner living space and reducing allergens. As you choose your pots, remember that imagination mobilizes mental potential, which can inspire you to create a beautiful and thriving indoor garden.
Preparing for Repotting

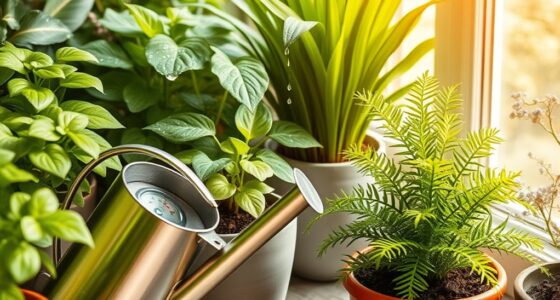
Before you dive into repotting your indoor plants, it’s important to prepare them properly to minimize stress.
Water your plant a day before to hydrate the roots and reduce shock. Consider using a nutrient bath with fertilizer and seaweed to soften the roots and prevent breakage. Ensure that you are providing fresh soil, which offers new nutrients for optimal growth and a better root environment. Additionally, keeping your plants healthy with essential oils can further support their overall well-being during the repotting process. Essential oils like tea tree can help prevent pests that may harm your plants during this transition. A well-balanced vegetarian diet can also enhance your plant’s resistance to stress, contributing to better overall health.
Water your plant a day in advance to hydrate roots and lessen transplant shock, using a nutrient bath for added care.
Check that your plant is healthy, pest-free, and ideally, in its active growth cycle, which is typically spring or early summer. Avoid repotting during extreme weather or if the plant is already stressed.
Each species has unique needs, so monitor signs like roots growing through drainage holes or stunted growth to determine if it’s time to repot.
Lastly, have a well-draining potting mix ready for a smooth transition.
Steps for Repotting

Repotting your indoor plants is a straightforward process that involves several key steps to ensure a smooth transition. Start by gently removing the plant from its current pot; turn it sideways and tap the bottom. Loosen the roots to prevent circling, then remove old soil to make way for fresh, nutrient-rich potting mix. Fresh soil provides new nutrients for the plant, which is essential for its continued growth and health. Additionally, using a diversification strategy when selecting plants can enhance the overall health of your indoor garden. Incorporating nutrient-dense ingredients like chia seeds into your plant care routine can also promote healthier growth. For instance, adding a low-calorie option like frozen yogurt pops can be a fun way to incorporate healthy treats into your plant care routine while enjoying the process.
Add new soil to the new pot, ensuring it has proper drainage. Place the plant in the center, making sure it’s secure. Prune any dead or circling roots, and check for root-bound conditions. Water the plant thoroughly to settle the soil, and tap the pot gently to eliminate air pockets. Finally, even out the soil surface for a tidy appearance, ensuring the plant remains stable.
Post-Repotting Care
After successfully repotting your indoor plants, the focus shifts to post-repotting care to help them adjust and thrive.
First, place your plants in a shaded area, avoiding direct sunlight to reduce stress. Keep the temperature stable and increase humidity by misting or placing a tray of water nearby. Repotting invigorates confined roots, which can enhance the plant’s overall health as it acclimates to its new environment. During this period, it’s essential to maintain consistent routines in your care regimen, similar to how children benefit from stability in their lives. Additionally, be mindful that plants, like daisies, thrive best with well-drained soil to prevent root rot. Using self-watering planters can further support your plant’s hydration needs during this adjustment phase.
Place your plants in a shaded spot, maintain stable temperatures, and boost humidity to help them adjust.
Water your plants thoroughly right after repotting, but ensure excess drains out. Stick to a consistent watering schedule, checking soil moisture regularly.
Delay fertilizing for about six weeks if you used fresh potting soil. Prune any dead leaves and monitor for issues like wilting or yellow leaves, adjusting care as needed.
With attention, your plants will bounce back and flourish in their new home.
Frequently Asked Questions
Can I Repot During the Fall or Winter?
Yes, you can definitely repot during fall or winter!
Fall’s cooler temperatures and lower sunlight help reduce stress on your plants, while winter dormancy makes it a low-stress period for repotting.
Look for signs like roots out of drainage holes or coiled roots.
Just be sure to use the right pot size and fresh, nutrient-rich soil.
After repotting, place your plants in a warm, well-lit spot to aid their recovery.
How Do I Know if My Plant Is Root-Bound?
You’ll know your plant is root-bound if you notice stunted growth or leaf discoloration.
Check for roots pushing through drainage holes or circling around the root ball.
If your plant dries out quickly between waterings or has small leaves with minimal new growth, it’s a sign.
Additionally, if the container looks distorted, it’s time to consider repotting to give your plant the space it needs to thrive.
What Type of Soil Is Best for Repotting?
Imagine your plant struggling to breathe, like a person in a crowded elevator.
Choosing the right soil is crucial for its health. For most houseplants, a general potting mix works well, but adding perlite or bark chips enhances drainage.
Succulents thrive in well-draining soil, while tropical plants benefit from organic mixes.
Remember to ensure good aeration and moisture retention, as your plant needs the right environment to flourish and grow strong!
Can I Use an Old Pot for Repotting?
Yes, you can use an old pot for repotting, but make sure to clean it thoroughly to prevent disease.
If the plant’s roots are circling, consider root pruning before placing it back in the same pot.
Always replace the old soil with fresh potting mix to replenish nutrients.
Just remember that if the pot’s too small, it might limit your plant’s growth, so keep an eye on root space.
How Often Should I Check for Repotting Needs?
You should check your plants regularly for signs they need repotting.
Inspect them weekly for roots peeking out of drainage holes or if they’re growing slowly.
During the early growing season, like spring, assess them closely.
Fast-growing plants need more frequent checks compared to slow growers.
If you notice changes in light or humidity, adjust your checking frequency accordingly to ensure your plants thrive in their environment.
Conclusion
Repotting your indoor plants is like giving them a fresh start, helping them thrive in their new environment. By paying attention to the timing and signs that indicate a need for repotting, you’ll ensure your plants stay healthy and vibrant. Choosing the right pot size and caring for them post-repotting is crucial for their growth. So, keep an eye on your green friends, and when it’s time, don’t hesitate to give them a new home!